As an Amazon Associate, we earn a small commission from qualifying purchases — at no extra cost to you.
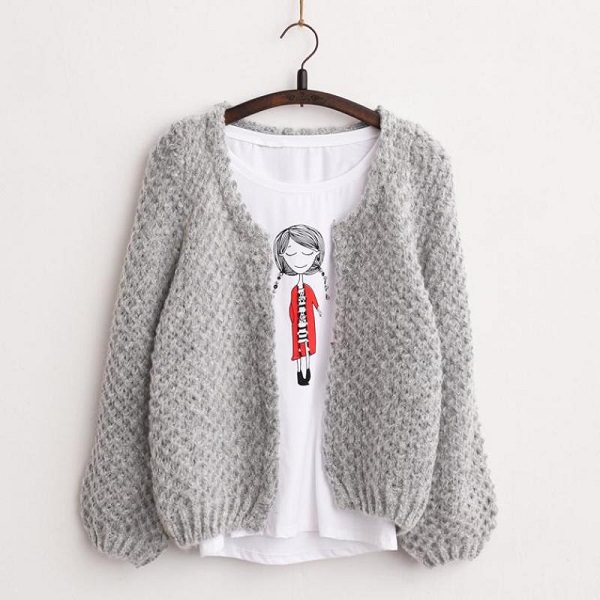
Give your newborn not just an extra layering but also a cool and stylish look with this Toddler Cardigan Pattern by following the steps below.
Pattern Notes
Materials and Tools:
> U.S K/10 ½ 6.5mm Crochet Hook
> Lion Brand Vanna’s Choice ( Any Worsted Weight Yarn) Silver Blue – 510 yards
> Tapestry Needle / Darning Needle – To weave in ends
You can buy the yarn you need here or here – Buying through this affiliate link helps to fund future free patterns at no extra cost to you. Thank you for your support.
Finished Measurements Approx:
> Toddler 1-2 years
> Width lay flat 28.5 – 29 inches
> Length 16 inches
> Arm Length 10 inches
Gauge:
> 12.4 dc and 7 rows = 4 inches (10cm)
> 6.2 dc = 2 inches
Pattern
R1. Ch89, 1dc in 2nd ch from hook and in each ch across, turn (88dc)
R2. Ch2 (doesn’t count as a stitch) Fpdc around the first dc from the previous row * Bpdc around next dc, Fpdc around next dc * Repeat across, turn (88sts)
R3. Ch2 (doesn’t count as a stitch) Fpdc around the first post from the previous row * Bpdc around next post, Fpdc around next post * Repeat across, turn (88sts)
R4-R20. Ch2 (counts as 1dc from here and throughout) 1dc in each st across, turn (88dc)
Do not fasten off.
First Front Side:
R21-R27. Ch2, 1dc in next 23sts, turn (24dc)
R28. Ch2, 1dc in next 23sts (24dc)
Fasten off and weave in ends.
Back:
R21. Locate last st of row 21 from ‘First Front Side’ join yarn into next st, ch2 (counts as 1dc) 1dc in next 39sts, turn (40dc)
R22-R27. Ch2, 1dc in next 39sts, turn (40dc)
R28. Ch2, 1dc in next 39sts (40dc)
Do not fasten off.
Joining First Front Side and Back:
> Fold over the first front side on top of the back piece with wrong sides facing outwards and line up stitches across the top to make shoulders. Slip stitch across for 12sts starting from the outside stitch working towards the neck, leaving the rest of the stitches unworked you should have a space for the armhole down the side of your work.
Fasten off and weave in ends.
Second Front Side:
R21. Locate last st of row 21 from ‘Back’ join yarn into next st, ch2 (counts as 1dc) 1dc in next 23sts, turn (24dc)
R22-R27. Ch2, 1dc in next 23sts, turn (24dc)
R28. Ch2, 1dc in next 23sts (24dc)
Do not fasten off.
Joining Second Front Side and Back:
> Fold over the second front side on top of the back piece with wrong sides facing outwards and line up stitches across the top to make shoulders. Slip stitch across for 12sts starting from the outside stitch working towards the neck, leaving the rest of the stitches unworked you should have a space for the armhole down the side of your work.
Fasten off and weave in ends.
Arms:
R1. With cardigan right side facing, join yarn to the bottom of the armhole, ch1 (Doesn’t count as a stitch) 1dc in same st, work 31dc evenly around the armhole, join with a slip stitch to beg dc (32dc)
R2-R15. Ch2 (counts as 1dc from here and throughout unless otherwise stated) 1dc in each st around, join with a slip stitch to beg dc (32dc)
R16. Ch2 (doesn’t count as a stitch) Fpdc around ch2 from the previous row * Bpdc around next dc, Fpdc around next dc * Repeat around, join with a slip stitch to top of first Fpdc (32sts)
R17. Ch2 (doesn’t count as a stitch) Fpdc around the first post * Bpdc around next post, Fpdc around next post * Repeat around, join with a slip stitch to top of the second post (32sts)
Fasten off and weave in ends. Repeat on the other arm.


